


Compression Test, Gen1
Cylinder compression is the key indicator of engine service life. Compression is measured by the maximum pounds/square inch of air that can be compressed by the cylinder before the cylinder leaks compression. Low compression indicates wear of the cylinders, piston, rings but compression that is lower (or higher) than spec can be an indication of other engine problems. If the engine idles smoothly and has good power, chances are the compression is ok. It’s still not a bad idea to check compression each time spark plugs are changed to monitor engine service life.
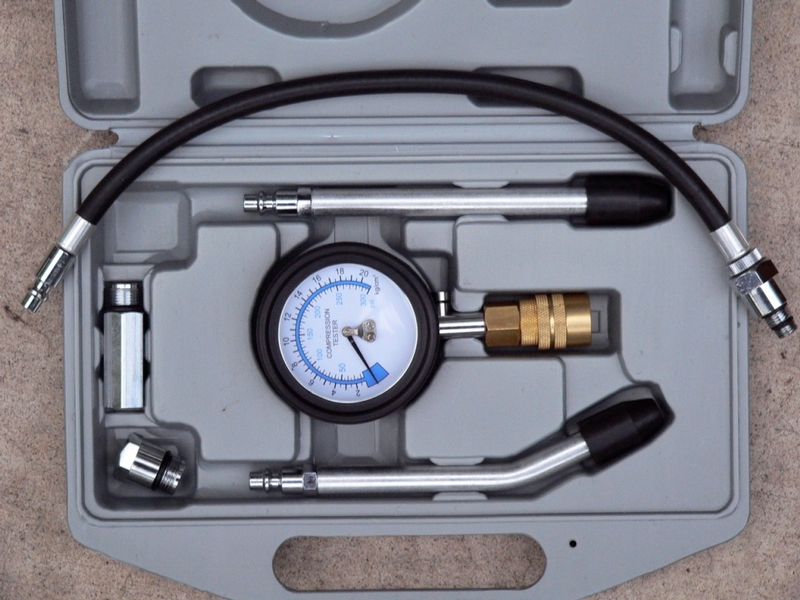
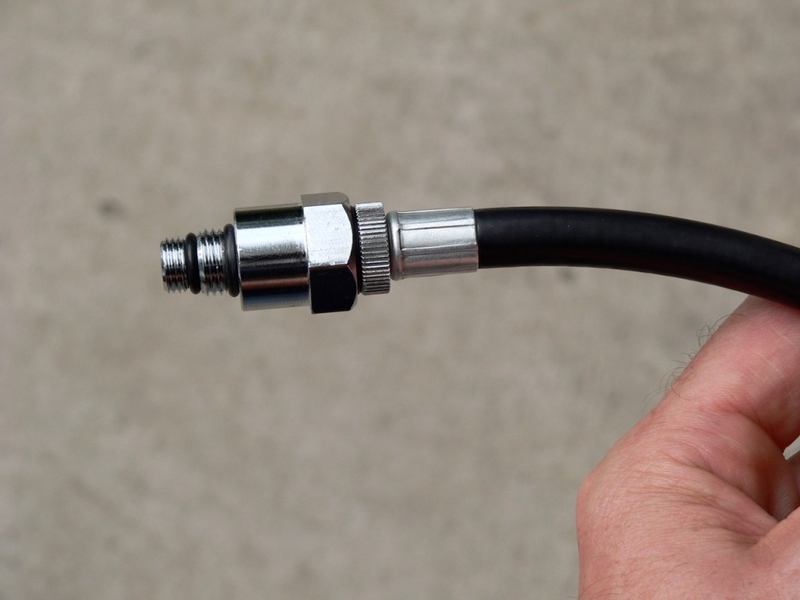
COMPRESSION TESTERS: A compression tester will have three basic parts: an adapter, a hose and a gauge. The adapter attaches to the spark plug hole. Some adapters are threaded with an o-ring to seal between the adapter and the spark plug hole. The other type of adapter is a press-in rubber tip at the end of a metal tube that may be dropped down deep spark plug wells. The hose is a length of rubber air line that connects the adapter to the gauge. The gauge is a dial or digital display that measures and indicates air pressure. These three parts are connected by quick couplers and/or threaded couplings.
I used the Pit Posse compression tester which was claimed to be a good tester for the ZX-14. To me, it seems better suited for use on an external spark plug engine. If one of the rubber tipped tubes is used in the spark plug well of a ZX-14, the Pit Posse’s gauge will not fit onto it. If the hose is used, the adapter is apt to thread off of the hose and be left stuck in the spark plug hole. Use blue LokTite on the hose to adapter threads to prevent this. The Pit Posse tester will work for your Gen1 ZX-14 if used as shown in this tutorial. However, I would suggest finding some other compression tester with an adapter on a metal tube of the proper length to place into the well. The tube should have a quick coupler 90° elbow that attaches to the hose. This is the type of tester shown in the service manual for the ZX-14.
PIT POSSE COMPRESSION TESTER REVIEW
DO FIRST IN THIS ORDER THEN IMMEDIATELY PROCEED WITH THE COMPRESSION TEST:
*Remove fairings (see
Fairings Removal, Lowers, Foremans, Ram Air Covers, Fuel Tank Cover, Inner Upper Fairing and Side Fairings.
*Tape off well nuts in air bow where the fuel tank fairing fastens.
*Clean the top of the engine of dirt and road debris.
*Take the bike for a 40 minute long ride to heat up the entire engine, oil, coolant and exhaust and fully charge the battery.
* Give the engine top one more blow with compressed air to remove any potentially hazardous particles that may have been deposited during the ride.
*Immediately remove each stick coil (see Stick Coil Removal, steps 1 through 3)
*Loosen the threads on each spark plug (see SPARK PLUGS REMOVAL: by spyglass)
*Clean each spark plug well (see Cleaning Spark Plug Wells)
* Remove each spark plug (see SPARK PLUGS REMOVAL: by spyglass) noting which cylinder it came from with a Sharpie.
* !!!Whatever you used to stop your spark plug wells during cleaning, remove ALL of them.
Tightly rolled plastic grocery bags work great for stopping spark plug wells while you clean an open well but DON’T forget to remove all before doing the compression test!....or you will probably have a big problem.
Tools:
compressed air and blowgun
Sharpie
compression tester
optional: new spark plugs
1. Spark plug wells are all unstopped, spark plugs are all out... Install the adapter to the spark plug hole in cylinder #1. 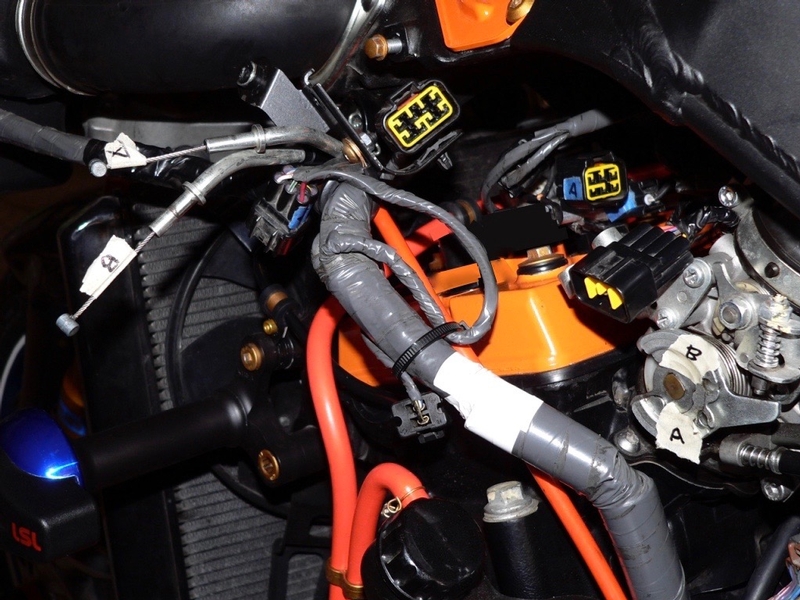
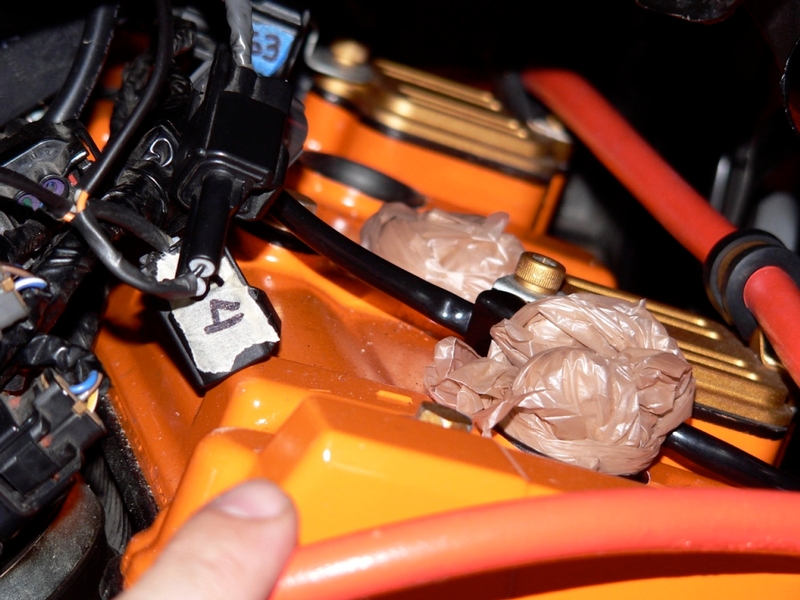
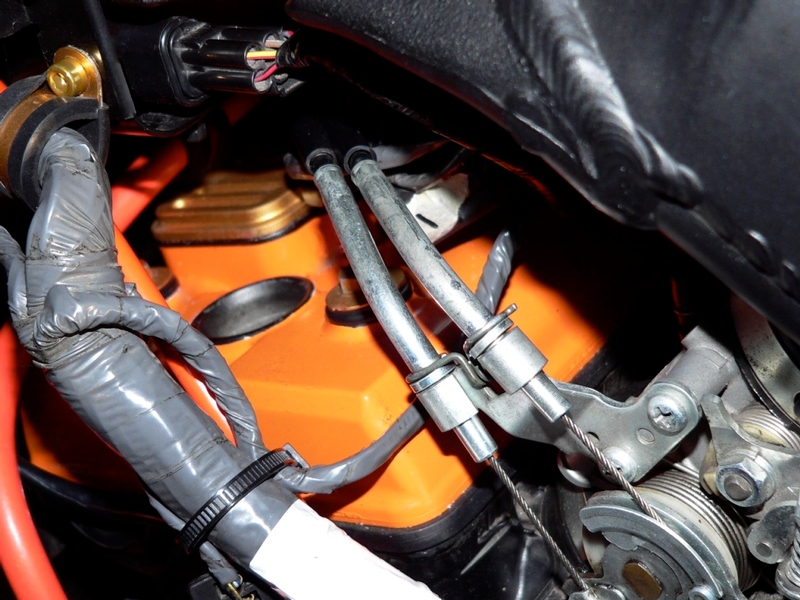
Cylinder #1 is difficult to reach because of the wires and cables on the LH side of the engine. You may remove the hanger bracket for the LH side fairing to help. The engine subharness lead which is the large black connectors farthest to the left side of the head cover (mine is modded for relocation in the photo above) must remain connected or the fan will come on when the ignition key is switched to ON. The throttle cables also need to be left connected so the throttle can be opened for the compression test.
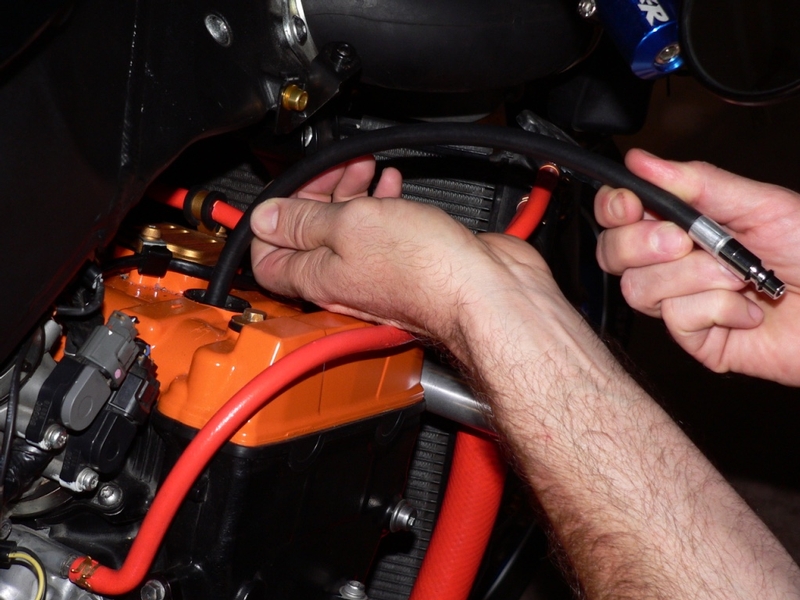
For illustrative purpose, I’m showing cylinder #4 in the above pic to show how a hose with a threaded adapter is twisted like a flexible shaft to install the threaded adapter to the spark plug hole.
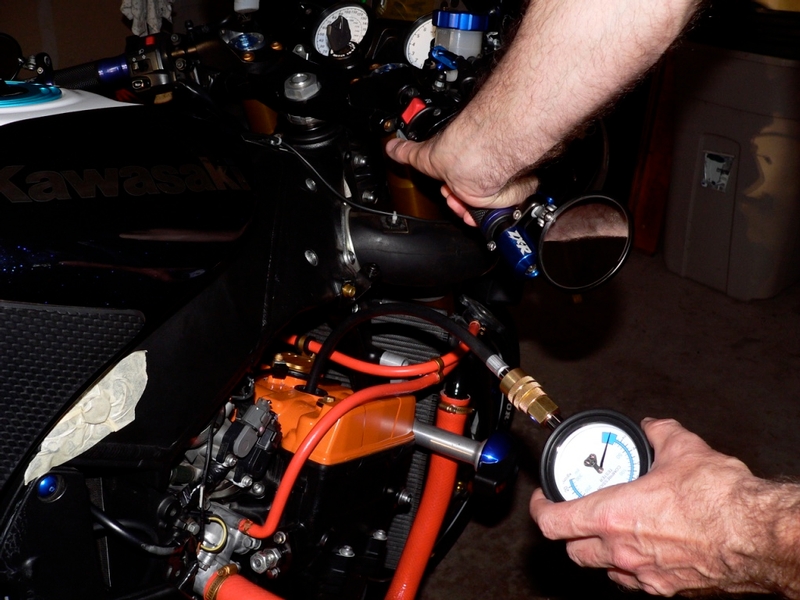
2. Now connect the gauge to the hose. Double check, are all of the spark plug wells unstopped? Be sure engine kill is switched to RUN. Turn the ignition key ON. Press starter switch cranking engine over until the needle on the gauge stops rising. Turn ignition key OFF. Write down the pressure indicted on the gauge and which cylinder was tested.
Cylinder Compression Usable Range: 1 030 ? 1 570 kPa (10.5 ~ 16.0 kgf/cm2,
149 ~ 228 psi) at 300 r/min (rpm)
3. Remove the gauge and the adapter and follow steps 1 and 2 of this tutorial for each of the remaining cylinders.
DO LAST IN THIS ORDER
*Inspect each spark plug. Install each spark plug with new ones if needed (see SPARK PLUGS REMOVAL: by spyglass
*Install each stick coil (see Stick Coil Removal, steps 4 and 5)
*Install fairings (see Fairings Removal, Lowers, Foremans, Ram Air Covers, Fuel Tank Cover, Inner Upper Fairing and Side Fairings).
Here are the readings I got. All in spec but not by a whole lot. I do not know what compression is typical for a bike with this mileage but the owners manual does spec engine replacement at around 60,000 miles. 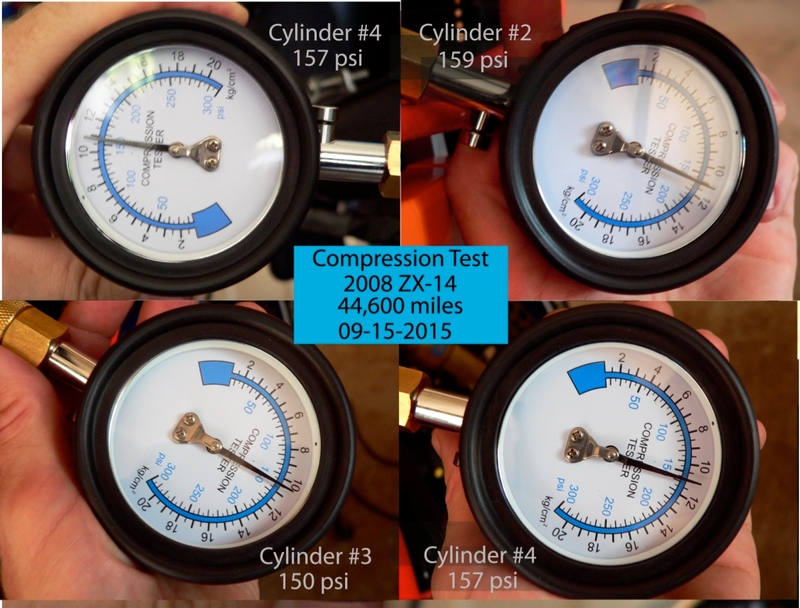
* Last updated by: Rook on 2/2/2018 @ 1:59 AM *