


How I Painted My Rotors
Tools
fine point marker
Frisket film
X-acto knife
red Scotch brite pad or 360 sandpaper
masking tape
wire
primer
paint
eraser
denatured alcohol
Before proceeding, it would be a good idea to refer to “The Process of Painting” and “Special Materials” sections at the beginning of my tutorial, Painting -- Rear Sprocket. I did not repeat that information in this tutorial but it applies to brake rotor painting or any other painting on metal surfaces.
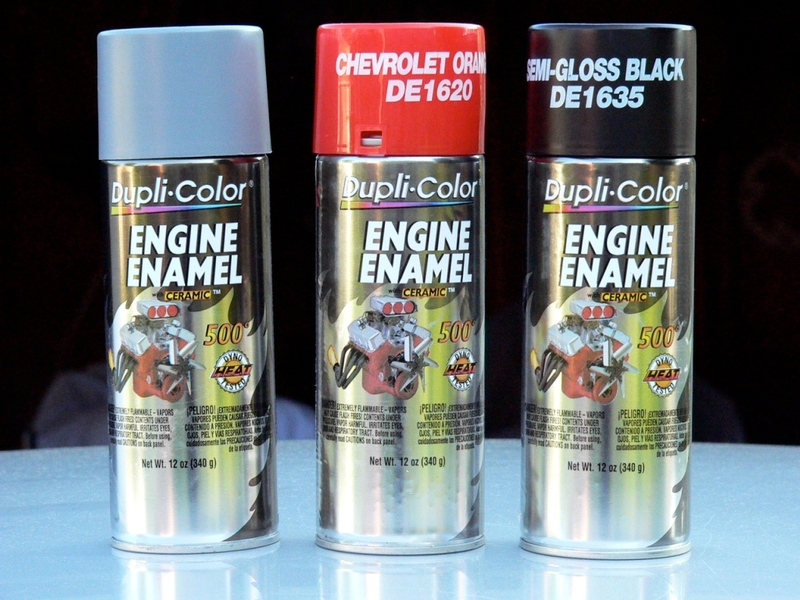
I used a high temperature paint for brake rotors since they often get pretty hot. I used Duplicolor Engine Enamel primer and paint.
The procedures for painting are the same for front and rear rotors.
With the rotors installed to the wheels, use a fine point marker to trace a line around the areas of the rotor that contact the rotor carrier. These areas should be masked to minimize the impact that the paint film may have on rotor runout (There is info about rotor and sprocket runout in my Wheel, Rotor, Sprocket and Axle Inspection tutorial). If the rotors are new, apply the brakes with the wheel turning so the brake pads will leave a trail where they contact the rotor. Use a fine point marker to trace a line at the border of the brake pad wear path. Now you have marked all the areas that will need to be masked off for painting.
Remove Rotors (see Brake Disc Removal Front and Rear, steps 1-4).
1. Place a sheet of Frisket film on both sides of the rotor. Cut the Frisket with an X-acto knife and remove the portion of the frisket to expose the area that will be painted. Be sure to leave the areas that contact the rotor carrier masked by the Frisket film so that no paint will be applied there. If there any cool logos on the rotor that you don't want to paint over, now is the time to mask them off.
Scuff the unmasked surface with a red Scotch Brite pad or 360 sandpaper. Wipe the areas to be painted with denatured alcohol.
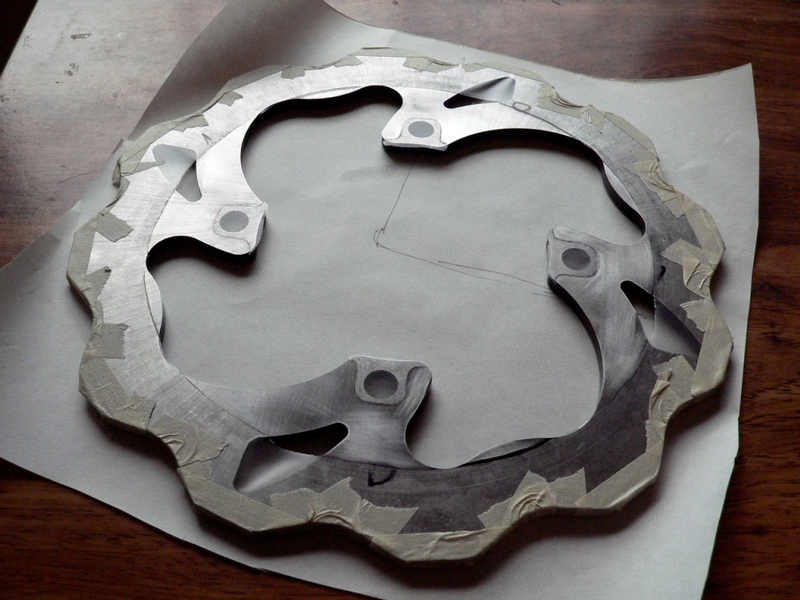
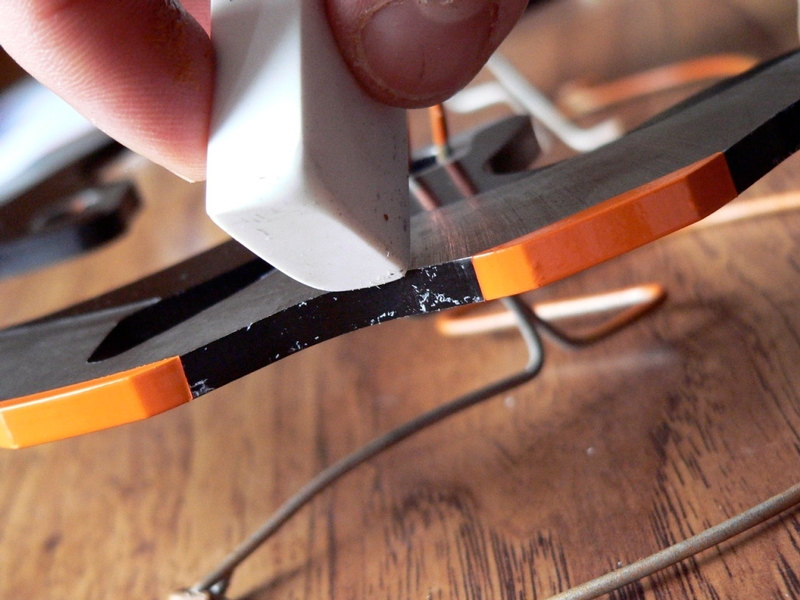
I decided to paint the scalloped edge of the rotor a different color than the sides. I covered the outer edge with masking tape before painting the sides of the rotor.
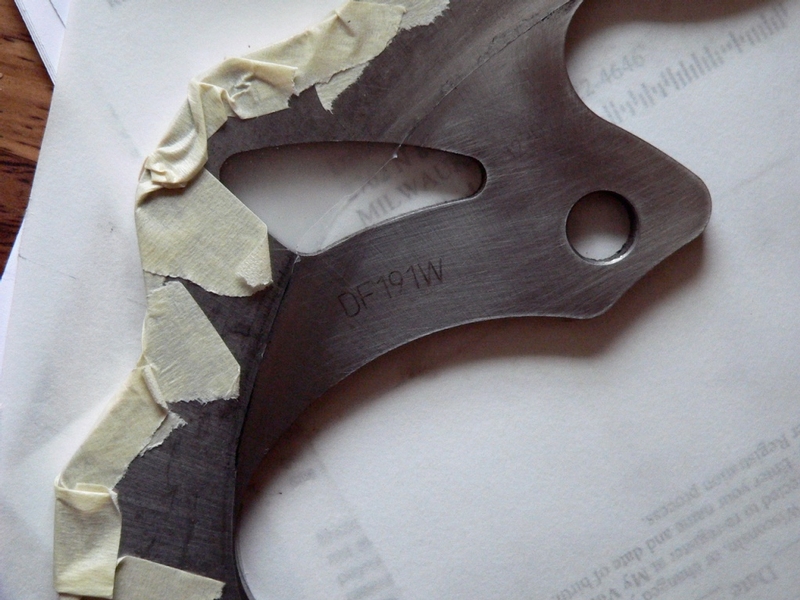
Rotors often have service specs and other info printed or stamped on them. If there are any notations on the rotor that will be covered with paint, you should make a note of them for future reference.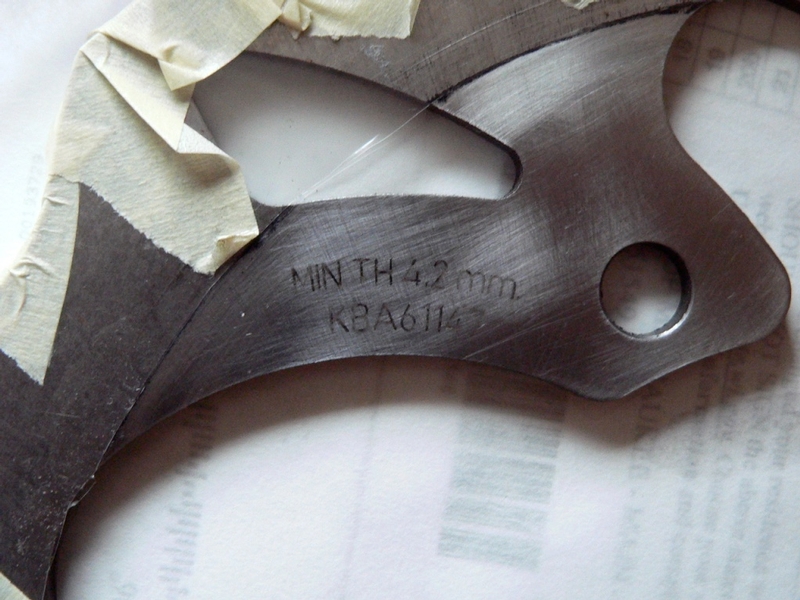
2. Hang the rotor from a wire. Shake the can of primer vigorously for sixty seconds before applying. Apply a feint coat of primer and allow it to dry. Apply a wet coat of primer within ten minutes. Prime both sides of the rotor shaking the can every ten seconds. 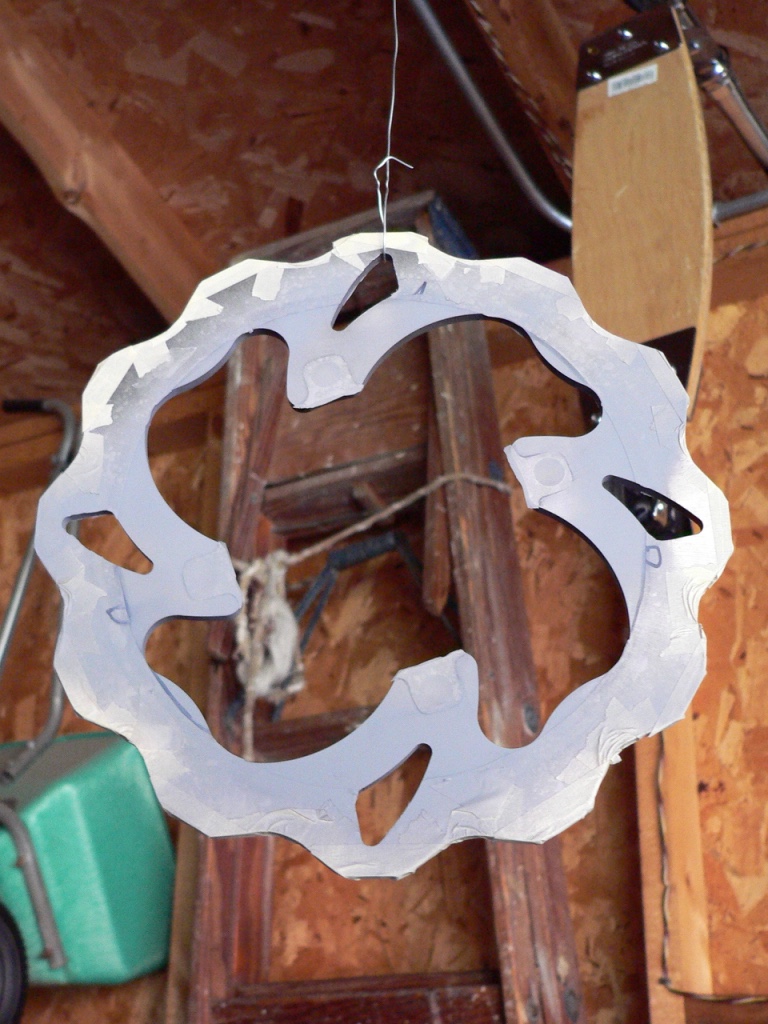
3. Apply the first coat of paint within ten minutes then apply a second coat. There will probably be no advantage to a third layer unless you intend to sand for a very smooth high gloss finish. 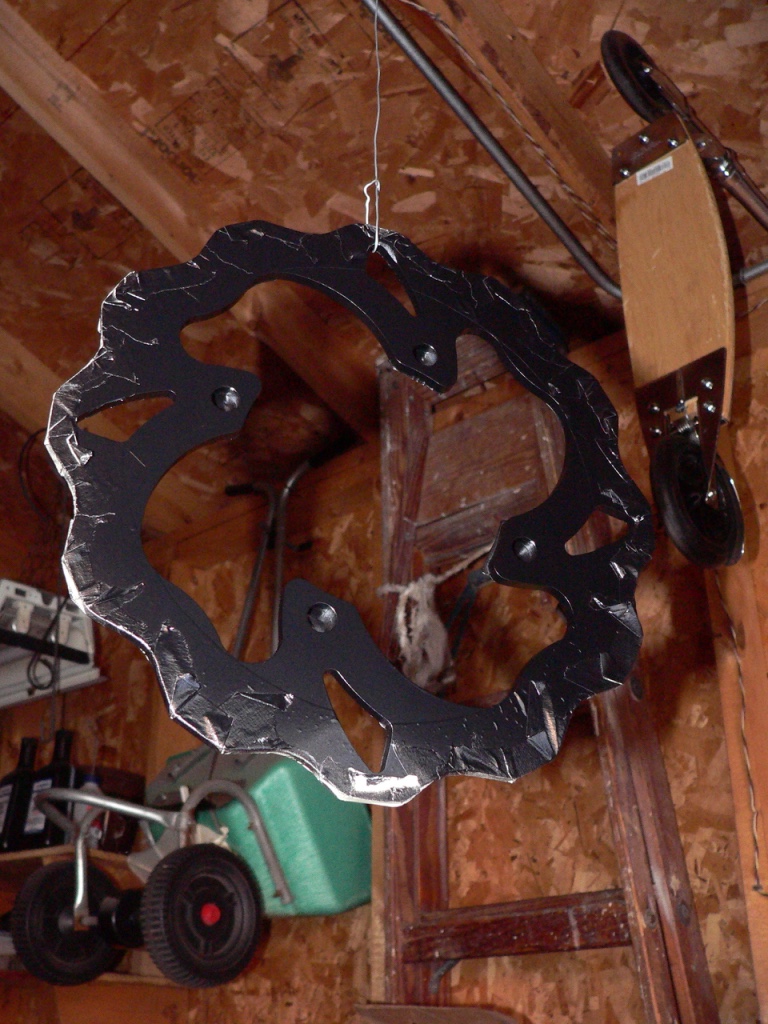
4. After the paint had dried for 24 hours, I remove the tape that was used to mask the outer edges of the rotor.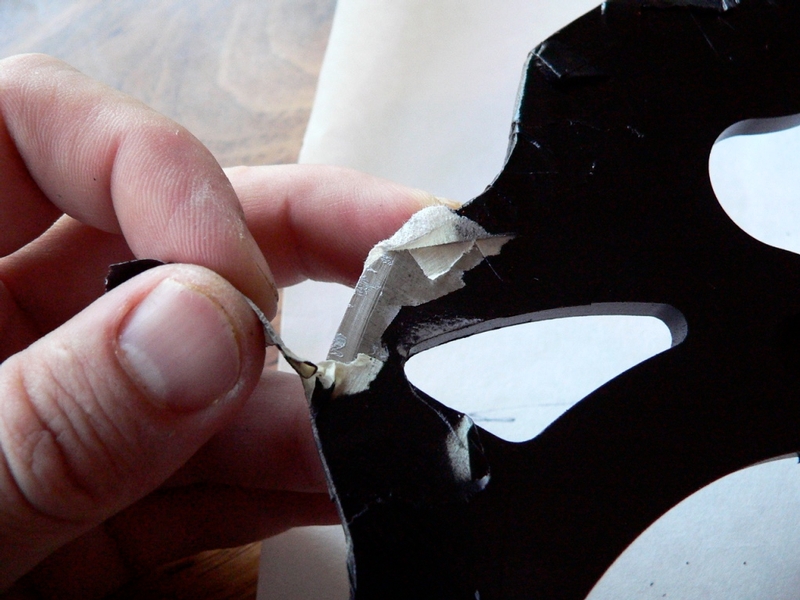
An eraser works well to remove tape residue that clings to the surface after the tape is removed then wipe the areas to be painted the second color with a clean rag moistened with denatured alcohol.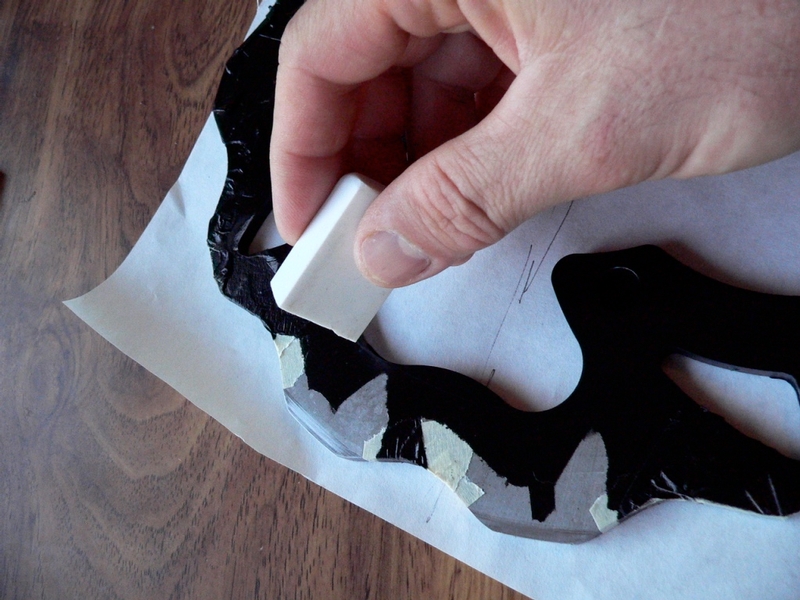
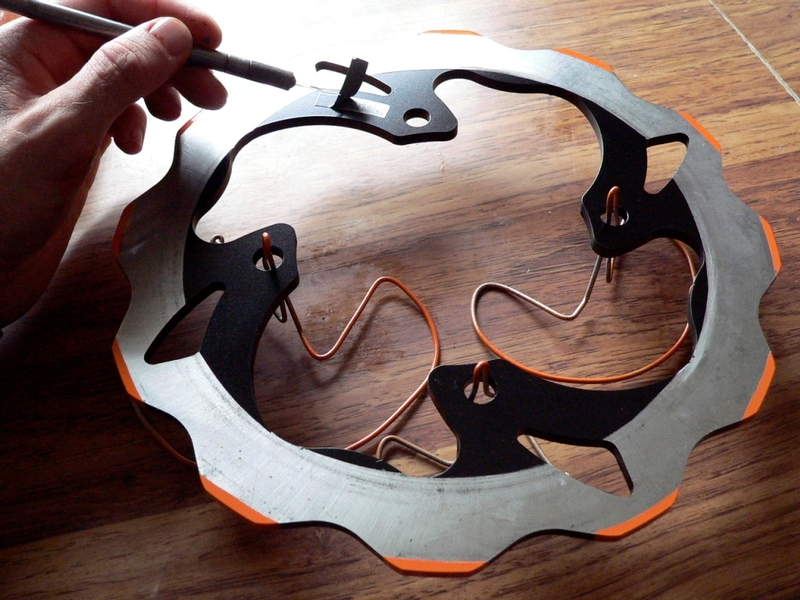
5. Mask the area that was previously painted with paper that has the edge sealed with masking tape. Do this on both sides of the rotor.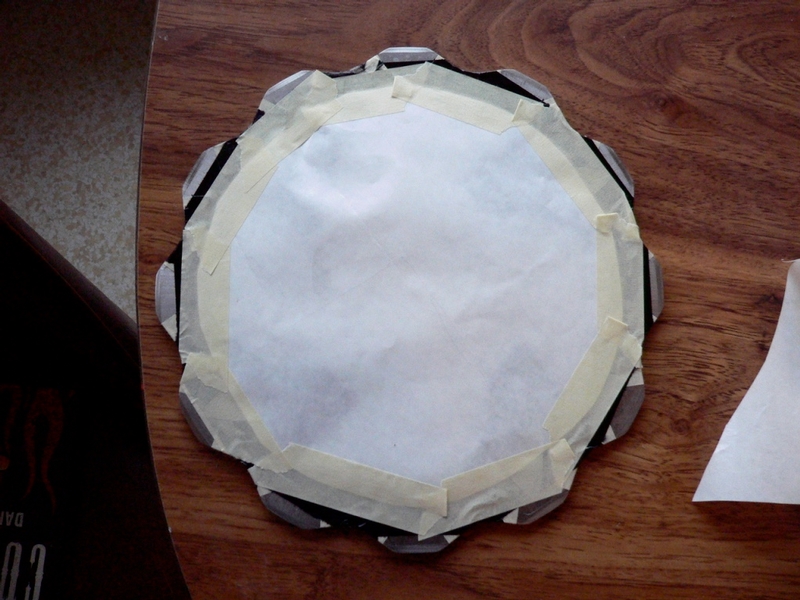
6. Prime the edge with a light coat of primer followed by a wet coat as described in step 2.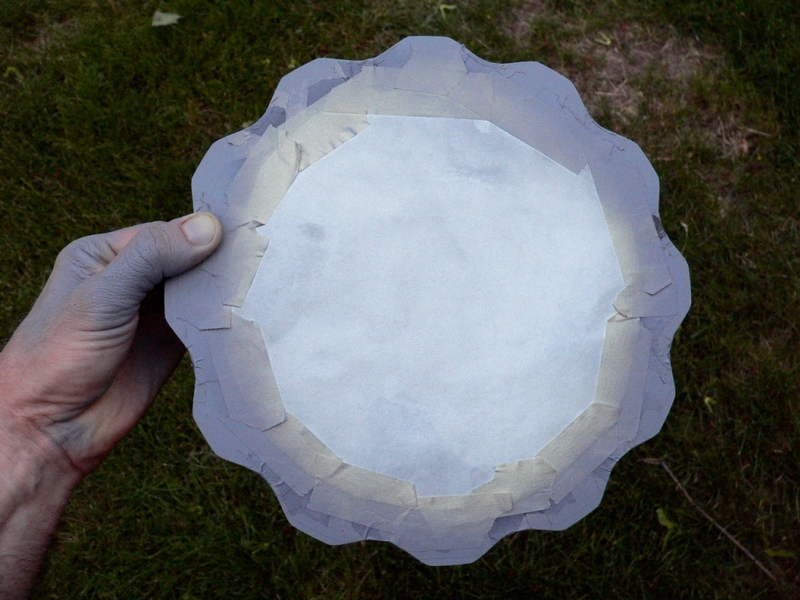
7. Apply one or two topcoats of color as needed.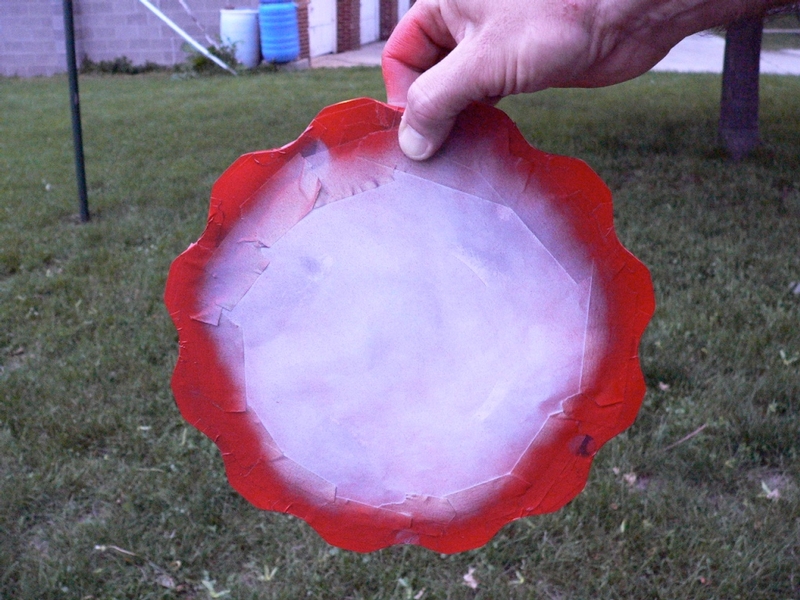
I applied an additional two coats of Valspar spray enamel next. It is not a high temperature paint but it is the correct color for my scheme. Hopefully it will hold up with the high temp paint below it.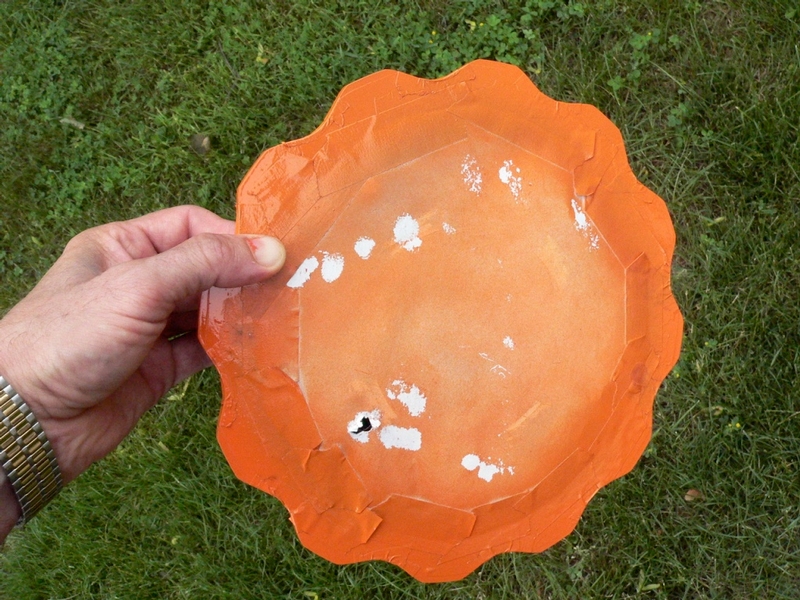
8. After twenty four hours. Remove all tape, paper and frisket from the rotor. Use an eraser to rub away tape residue.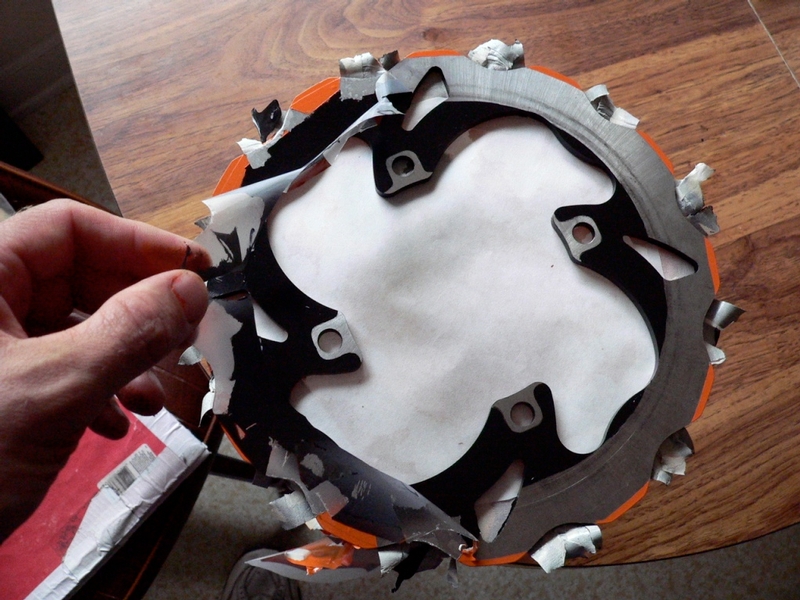
Install Rotors to wheels (Brake Disc Removal, Front and Rear, steps 5-8).
* Last updated by: Rook on 4/20/2018 @ 5:58 AM *